So, you've got a pothole or a nasty crack staring back at you from your driveway. It's an eyesore, sure, but also a trip hazard. And it's a clear sign water's getting in, which usually means bigger problems are coming down the road. You're probably wondering if you can just patch it up yourself, right?
The short answer is: sometimes, yeah. For small stuff, a homeowner can absolutely make a difference. But there are limits. Pushing past those limits usually means you're just throwing good money after bad. Let's break down what you need to know before, during, and after you try to patch your asphalt.
Before You Start: Check Out the Damage
First things first, you've got to look at what you're dealing with. Not all asphalt damage is the same. Here's what I generally tell folks:
- Small Cracks (up to 1/2 inch wide): These are usually just on the surface and perfect for DIY crack filler. Think of them like little cuts on your skin – easy to bandage up.
- Larger Cracks (over 1/2 inch wide) or Alligator Cracking: Once cracks get wider, or you start seeing a pattern that looks like alligator skin, you're probably looking at a deeper structural issue. Water has been getting under there, eroding the base. A DIY patch here is, at best, a temporary fix; you're not getting to the root of the problem.
- Potholes: A pothole means the asphalt has completely failed in that spot, and the base material underneath is exposed. Small, shallow potholes can sometimes be tackled by a homeowner, but bigger, deeper ones? That's usually a job for us.
- Raveling or Fading: This happens when the top layer of asphalt starts to wear away, exposing the aggregate. It's a sign your pavement is getting old and needs sealing or resurfacing, not just a patch.
If you're seeing widespread cracking, multiple potholes, or big areas of deterioration, especially in high-traffic spots, you're probably past the point of a simple DIY patch. That's when you need a professional to take a look. We see a lot of this around older neighborhoods, like the ones off Mission Blvd, where the asphalt's been taking a beating for decades.
What You'll Need (for DIY Patching)
Okay, so you've decided your damage is small enough to tackle. Good for you! Here's a basic shopping list:
- Safety Gear: Gloves, safety glasses, sturdy shoes. Seriously, don't skip this.
- Stiff Wire Brush or Broom: To clean the area.
- Chisel and Hammer (optional): For squaring off the edges of potholes.
- Leaf Blower or Shop Vac: To get everything super clean.
- Asphalt Crack Filler or Cold Patch Material: Make sure you get the right product for cracks versus potholes. Cold patch comes in bags and is designed for filling holes. Crack filler usually comes in tubes or pourable jugs.
- Tamper: A hand tamper or a heavy piece of wood to compact the patch material.
The DIY Patching Process: Step-by-Step
1. Clean it Up
This is probably the most important step, and it's where most DIYers mess up. You need to get all the loose debris, dirt, and vegetation out of the crack or pothole. Use your wire brush, broom, and then hit it with a leaf blower or shop vac until it's spotless. If there's any moisture, let it dry completely. Your patch won't stick to dirt or water, plain and simple.
2. Prep the Edges (for Potholes)
For potholes, you want to make the edges as vertical as possible. Use a chisel and hammer to chip away any crumbly asphalt and square off the sides. This gives your cold patch something solid to bond to. Think of it like cutting a clean hole for a plug.
3. Put in the Material
- For Cracks: Squeeze the crack filler directly into the crack. Don't overfill it; you want it slightly below the surface so it doesn't create a hump. Some products need a little time to set, so read the instructions carefully.
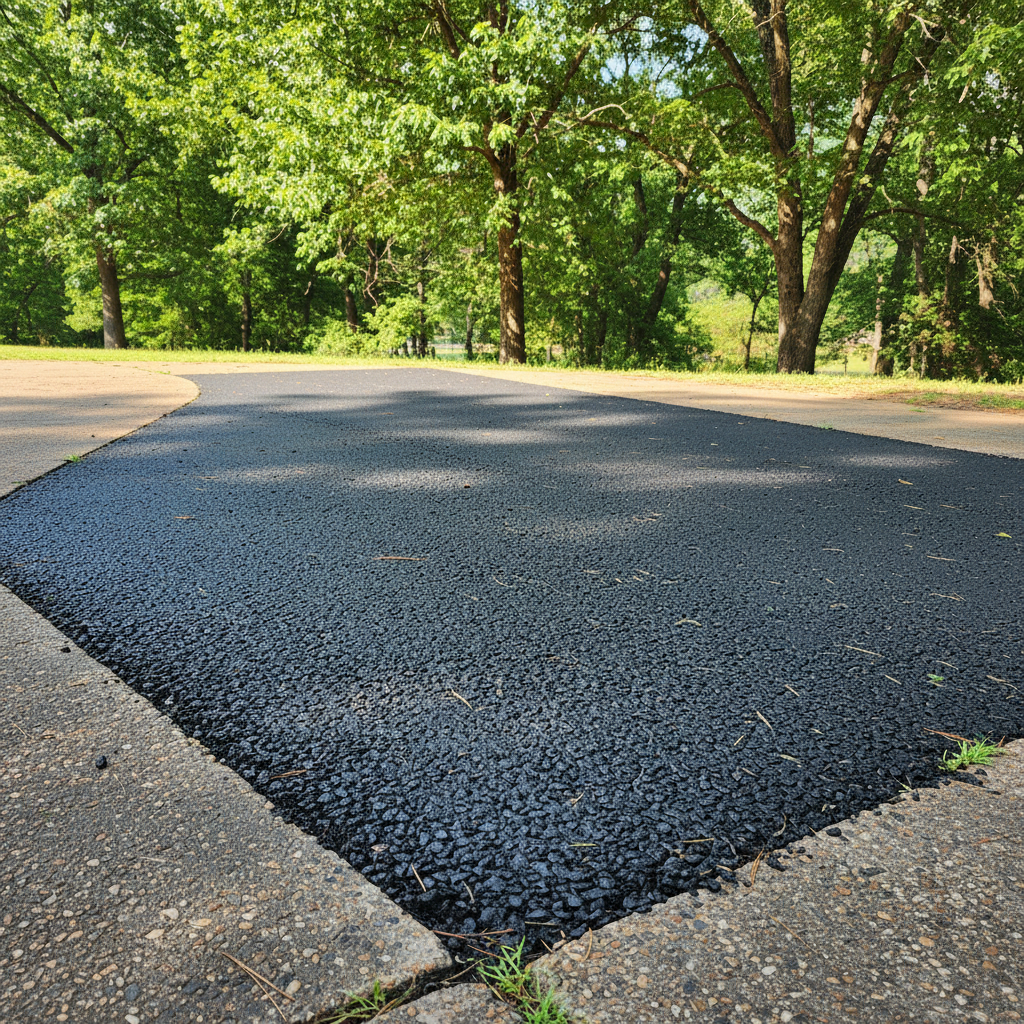
- For Potholes: Pour the cold patch material into the hole. Don't dump it all in at once if it's a deep hole. Fill it in layers, about 2-3 inches at a time, tamping each layer down firmly before adding the next. You want the final layer to be slightly mounded above the surrounding asphalt, because it's going to compact down.
4. Compact, Compact, Compact!
This is crucial for potholes. Use your tamper to really press down on that cold patch. Walk on it, drive your car over it slowly a few times. The more you compact it, the denser and more durable your patch will be. You want it to be flush or just slightly below the existing surface.
After the Patch: What to Expect
Give your patch time to cure. Cold patch usually takes a few days to a week to fully harden, depending on the weather. Avoid heavy traffic on it right away if you can. You might notice the patch settling a bit over time, especially if it's a deep one. That's normal; you can always add a thin layer and re-tamp if needed.
Remember, a DIY patch is usually a temporary repair. It's meant to stop water from getting in and prevent further damage, buying you time before you need a more permanent solution like resurfacing or a full-depth repair. It's not going to look like brand new asphalt, but it'll be functional.
When to Call Mighty Paving Solutions
Look, I'm all for homeowners tackling what they can. But there comes a point where DIY just isn't the smart move. If you've got:
- Multiple large potholes
- Extensive alligator cracking
- Areas where the asphalt is completely crumbling away
- Drainage issues causing constant puddles
- Or if you just don't have the time or tools
That's when you should pick up the phone. We've got the heavy equipment, the right materials, and the experience to do a repair that'll last. We can assess the underlying issues, whether it's a bad sub-base or poor drainage, and fix it right. Sometimes trying to save a buck on a big repair yourself ends up costing you more in the long run because you're just patching over a bigger problem. We're here to help you make the right call for your driveway and your wallet.